How to Create Custom Flashcards with Open Office
First you need to download and install OpenOffice. Why OpenOffice? Well because it's free! When my family made a cross-country move four years ago, somehow we lost all our Microsoft CD's. They were too costly to replace and I was beyond bummed thatI did not have access to a word processing program. Someone mentioned OpenOffice and I've been using it ever since!
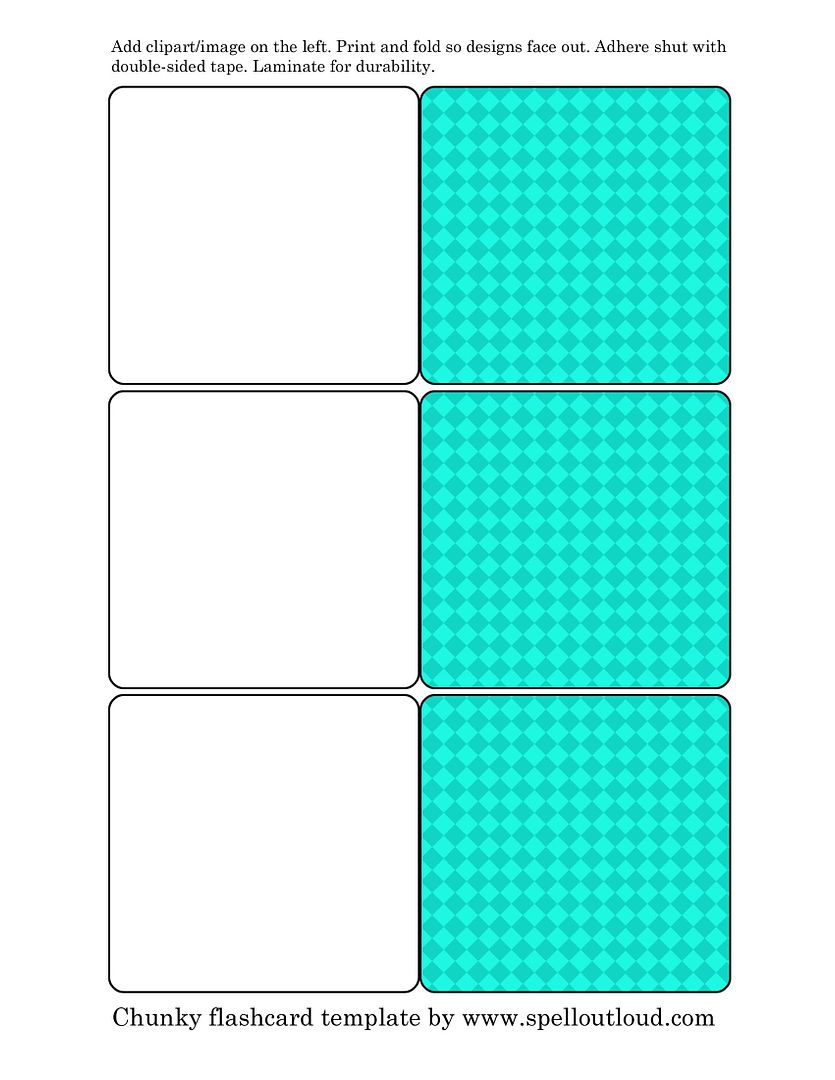
Next download and save my chunky flashcard template.
After you've downloaded and installed the program, open Create a Text Document.

Go to Insert>Picture>From File ---then go to where you saved the flashcard template. This should insert the template as the background of your document. You will notice that the image is active when you see green squares (or "handles") around the image. In order to deactivate the photo, click toward the end of the document. You should get the text prompt(flashing vertical line).
Now repeat the process adding in the graphics on the left side of the template:
Insert>Picture>From File --- whatever graphic you've saved.jpeg
This graphic should be on top of the template image. You can move it to the appropriate square by right-clicking on your mouse and dragging the image. If the image needs to be resized, click shift and drag one of the corner handles (green boxes) either in or out (depending if you want the graphic bigger or smaller).
Once you have all the graphics in place, you can add text using the Fontworks Gallery toolbar.
Click on the T image (see arrow in the image above) Move the text tool cursor to the area in the document that you want to create text, and click and drag to make a text box. It is active when you see the flashing horizontal line in the text box.
 If you click the text box, you will notice blue squares (handles) all around it. You can click and move the text box when it is in this state. Click off toward the side or bottom of the document if you want to deactivate the text box. If you want to edit an existing text box, double click on it.
You can change the font, color, alignment on the text toolbar. Just highlight your text and make your changes. You are done! Don't forget to save. OpenOffice has the ability to save as a PDF too. Just click the PDF icon on the top toolbar.
Tip:
If you are having problems moving a smaller graphic, make sure the large background graphic is not active (green boxes around it).
See Other Related Posts:
Under the Sea Flashcards
Barn Yard Magnet Set
---------------------------------------
The cute dinosaur graphics are by Mindy Terasawa, www.designerdigitals.com

Labels: Computer Crafts, flashcards, How To's, OpenOffice
posted by Mozer at
9:25 AM
![]()


1 Comments:
oh boy does this remeind me of my digital scrapbooking days using power point!!! so creative - my kids love our flashcards - such a hit and i love how you have shown how to do this with great detail - something everyone can go and make!!!!
Post a Comment
Thanks for letting me know you were here! :) I appreciate you taking the time to write. If you have any questions, I'll try to answer it in the comments section here or via email if it is listed in your profile.
Subscribe to Post Comments [Atom]
<< Home